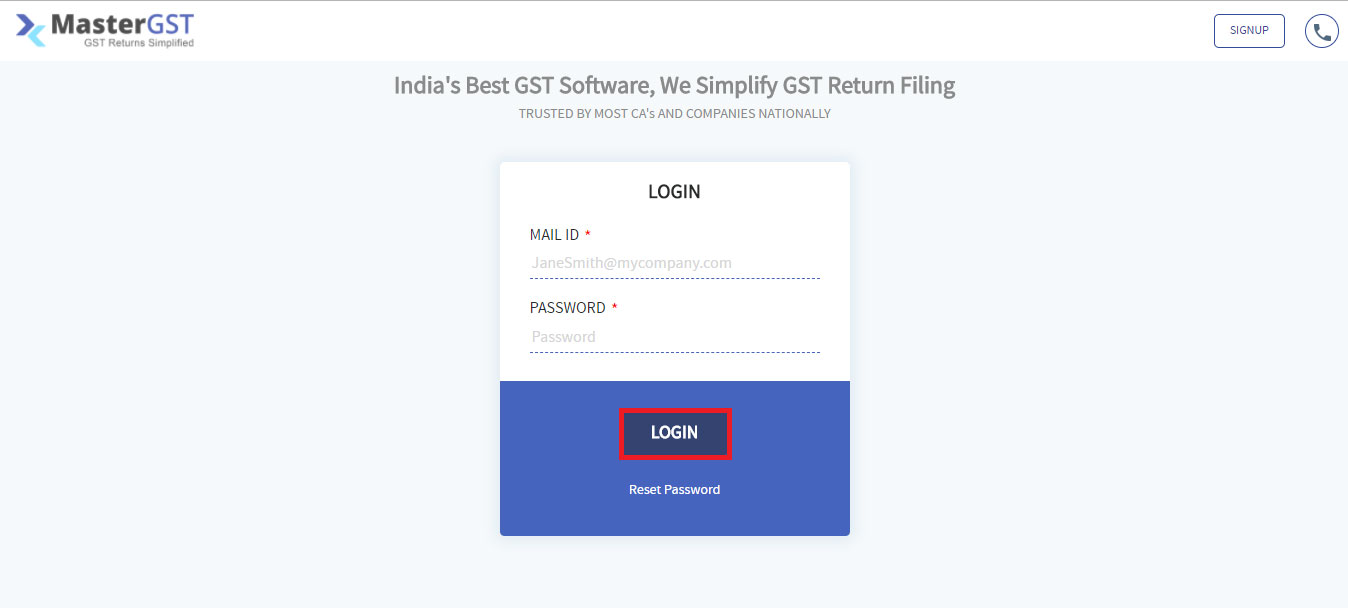
Step1 :
Login into MasterGST using same email and password as you registered.
Step2 :
After adding clients, you will get the clients details in clients page (please refer ‘how to add clients’).
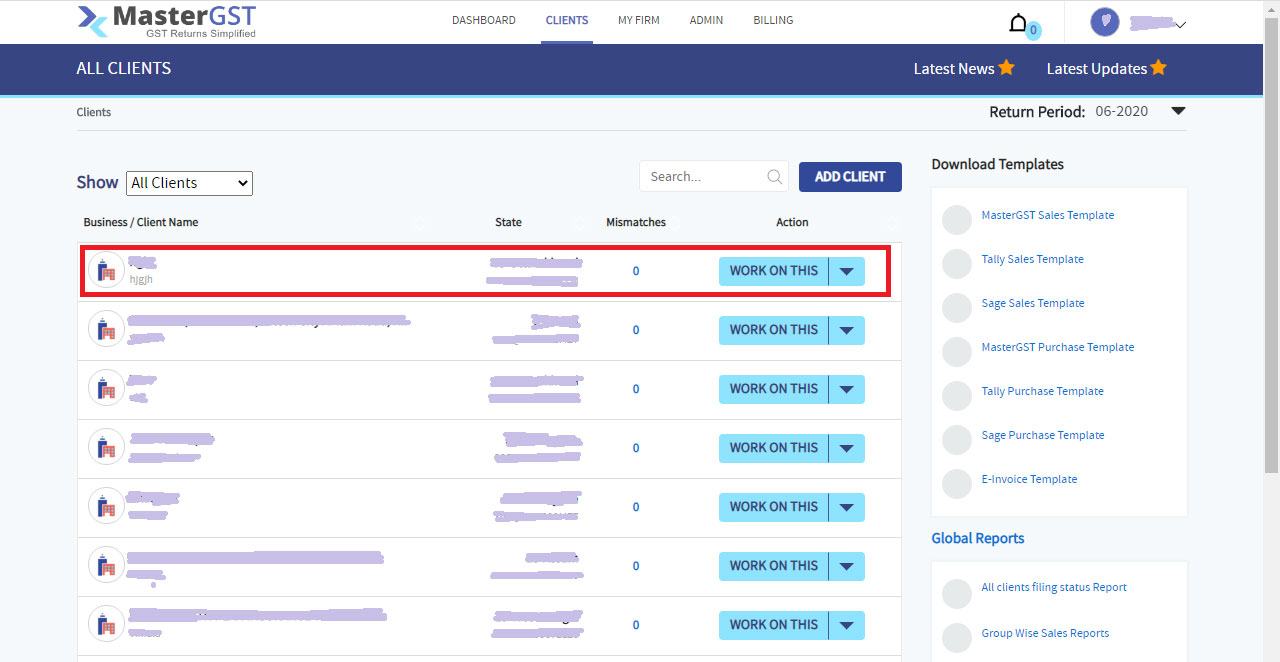
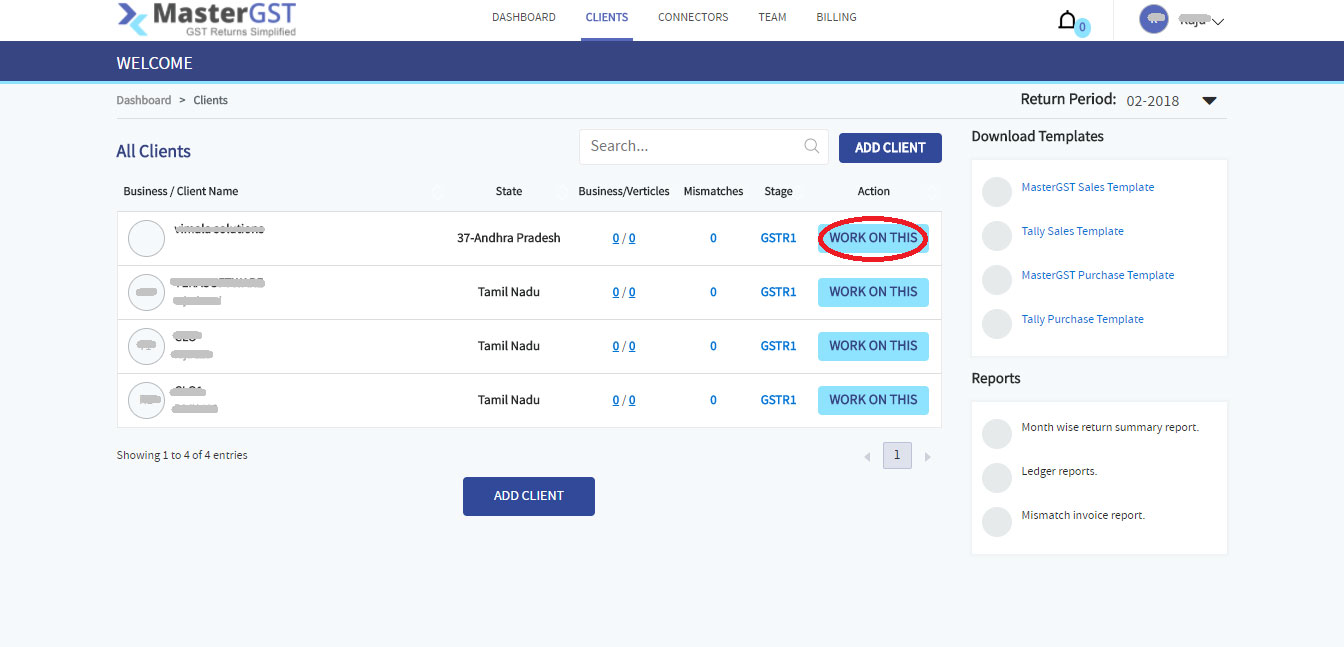
Step3 :
At the end of each client details you can see a button with text Work on this ,click on that button.
Step4 :
You will get a pop up calendar, click on a month to which you want to add invoice.
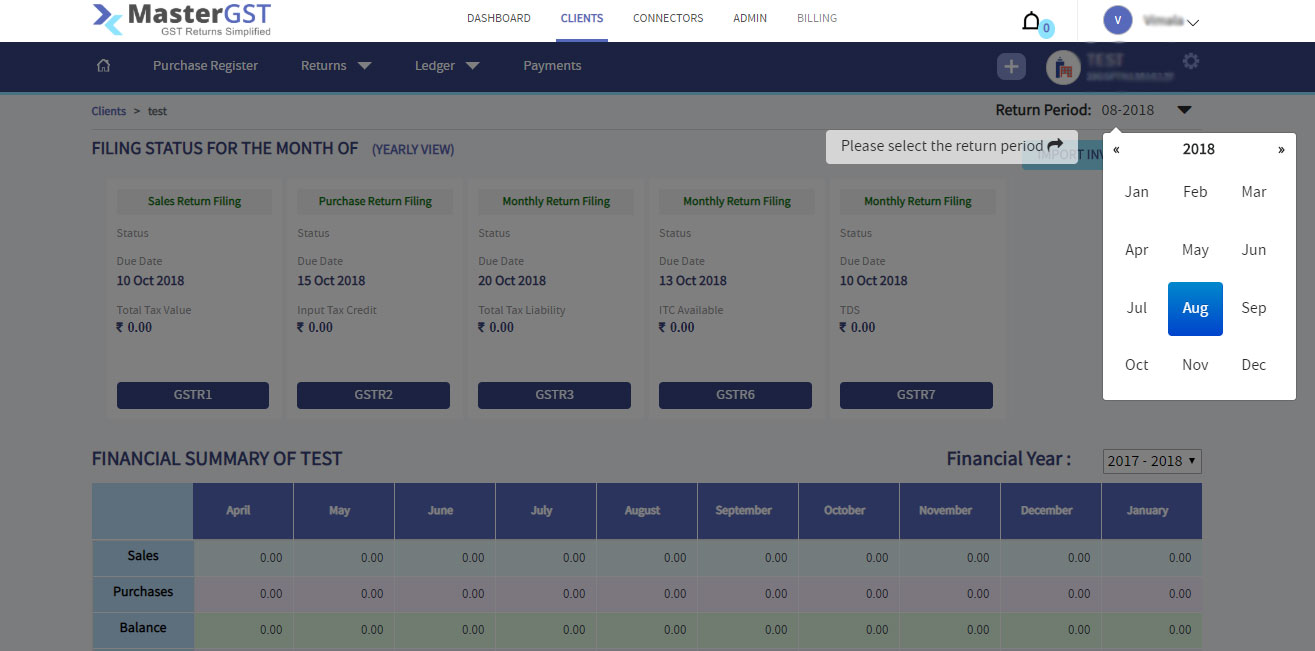
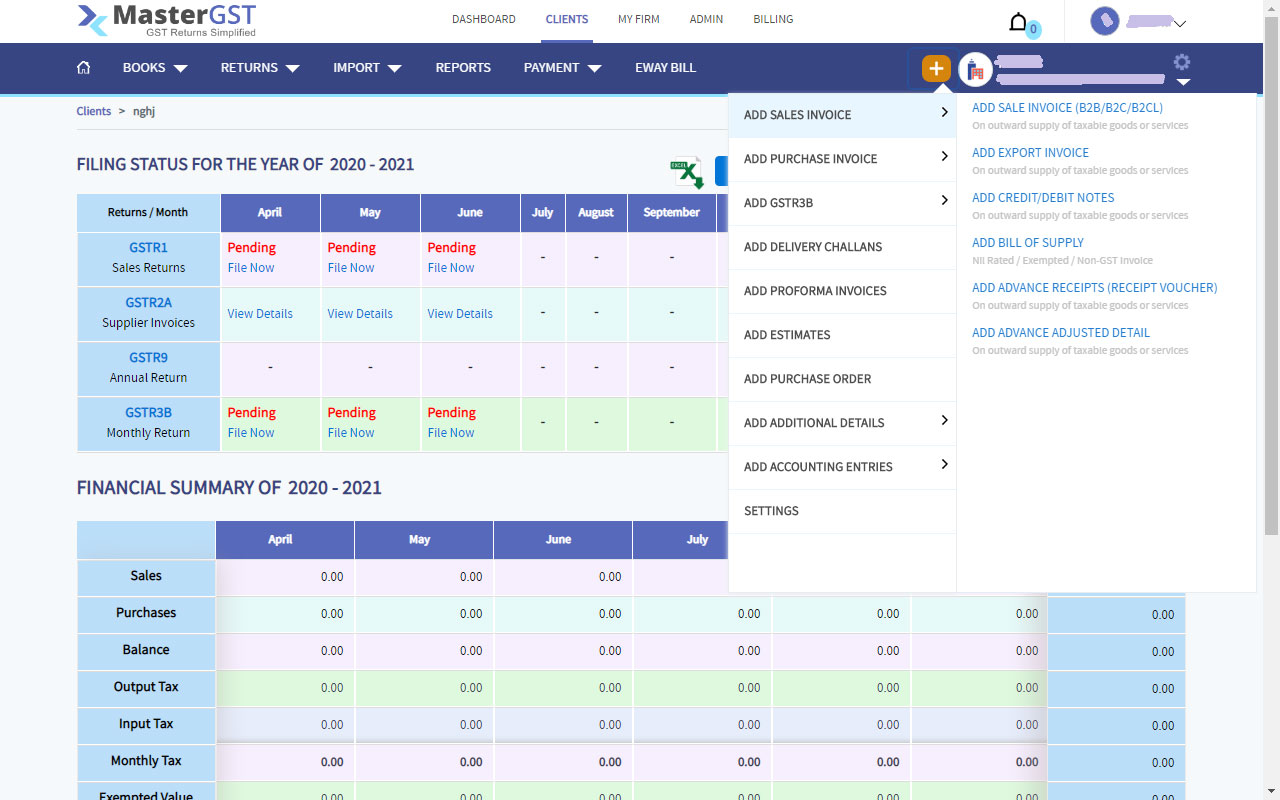
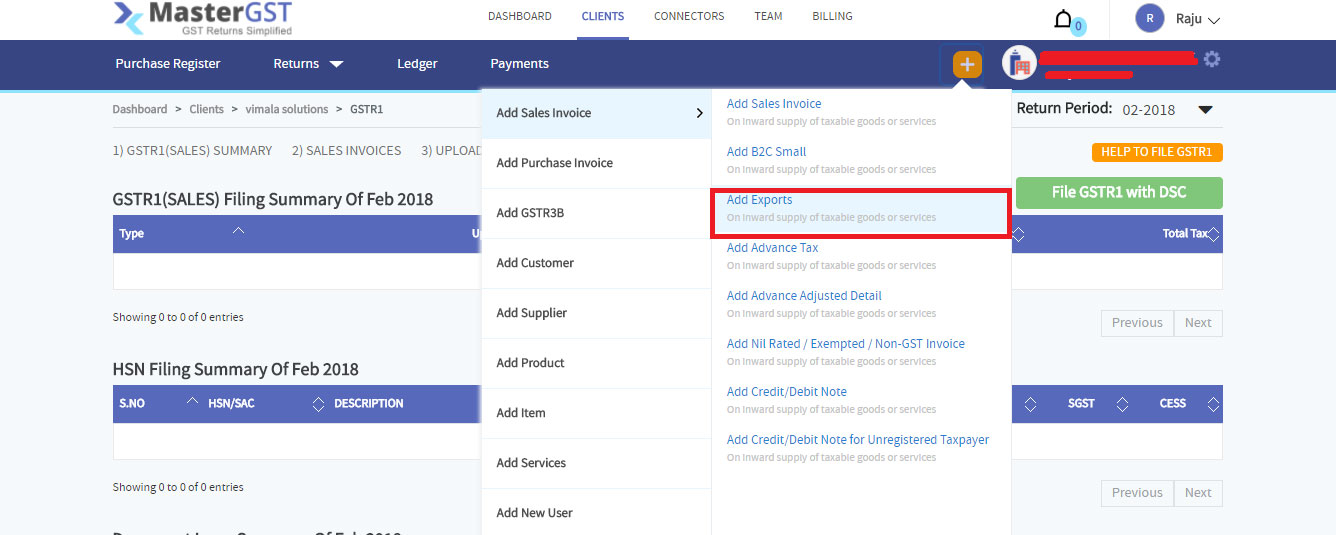
You will get a page with + on top of menu bar. you will get options to which you want to add invoice.

Step5 :
For sales invoice click on add sales invoice.
Step6 :
It will show a form, fill all the fields, If the invoice is B2B give the GSTIN else If the invoice is B2C we don’t need to give GSTIN number.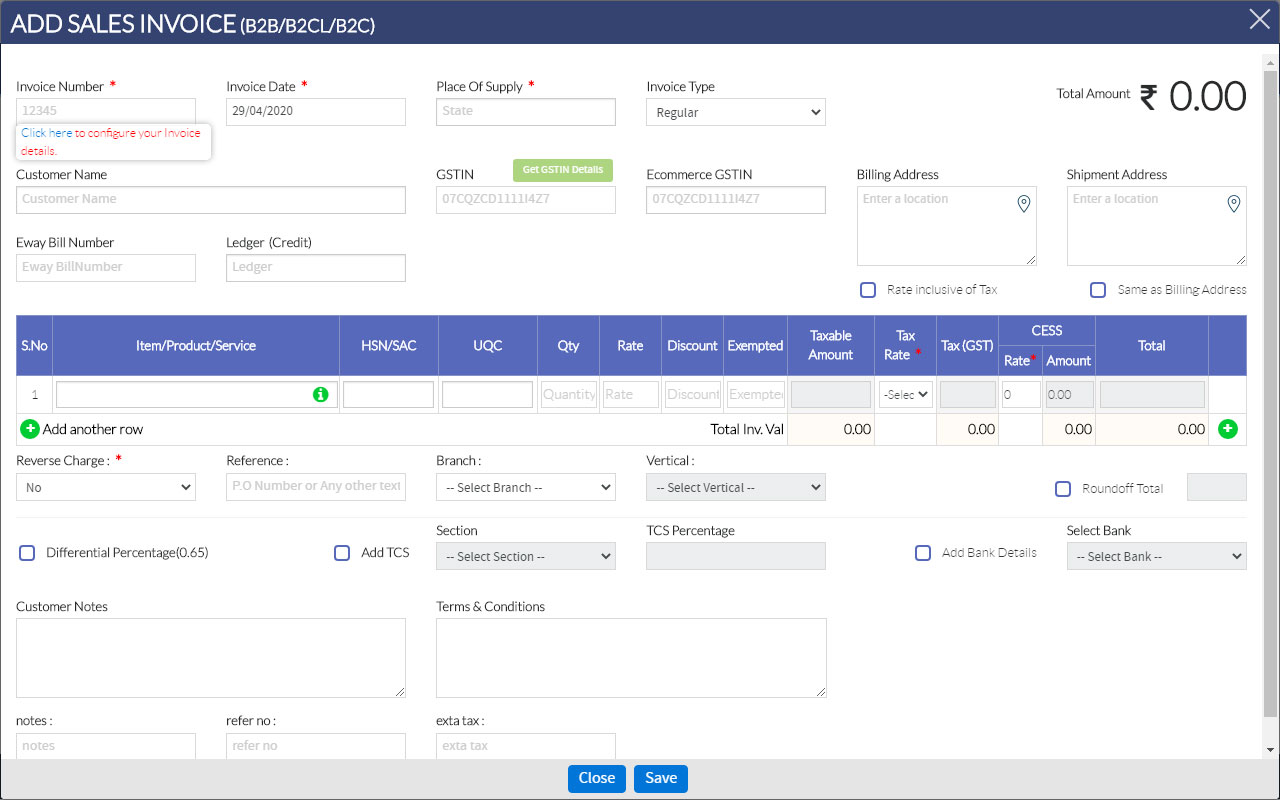
- Customer Name: Name of the customer.
- GSTIN Number: If the invoice is B2B give the GSTIN else If the invoice is B2C it is not needed.
- Invoice Number: is any number (or any other character) assigned to that bill by the issuing company so they can track it later.
- Invoice Date: just the date it was issued.
- Billing Address: Address of supply.
- Supply state: Select one radio button from following
Intra state supply :If the state of supply and state of supplier are same then it is intra state supply. In intra state transaction, CGST & SGST will be charged. The CGST gets deposited with Central Government and SGST gets deposited with State Government.
Inter state supply :If the state of supply and state of supplier are different then it is Inter state supply. In inter state transaction, IGST will be charged. IGST will be applicable on any supply of goods and services in both cases of import into India and export from India
- Is Billed & Shipped in the same Address: If the address is same then select yes else select no.
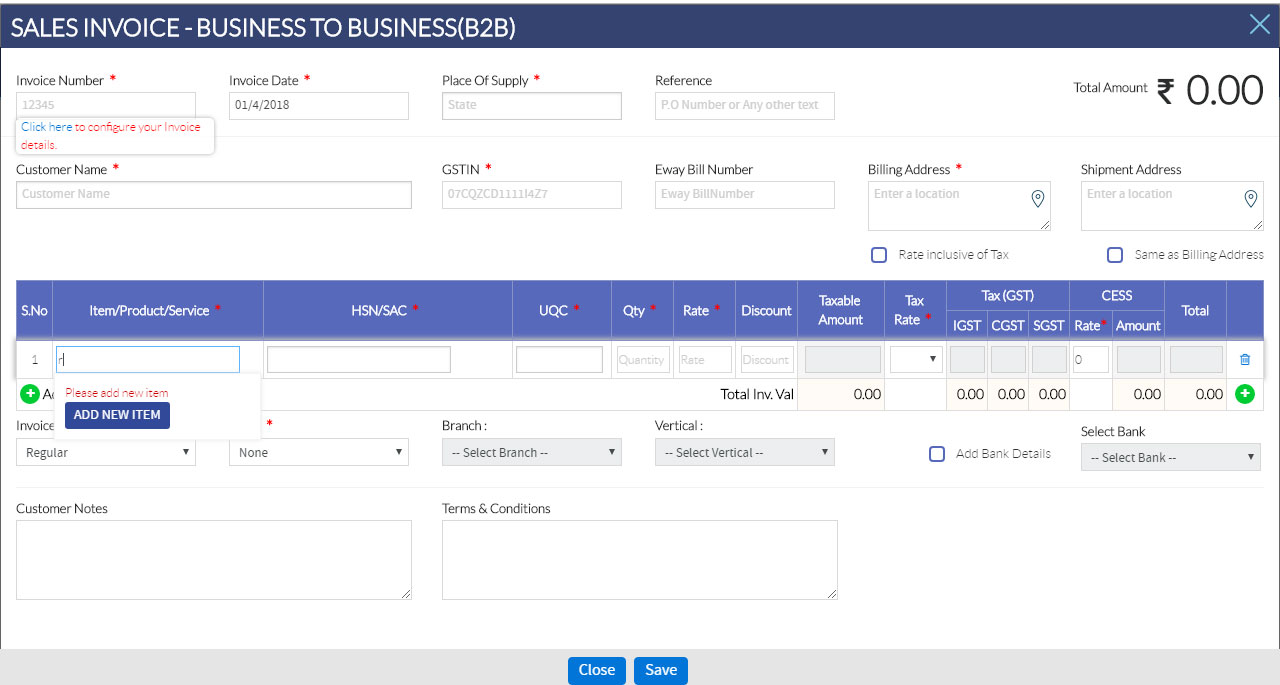
Add Item Details
- Item Name: enter which item purchased ,if that is new item it will show add click on add item.

- Item number/code: Enter item code(must be more than 3 numbers)
- Item name: name of the item.
- Unit of Measurement : How the item will measure.
- Recommended Selling Price for B2B: Price for business to business.
- Recommended Selling Price for B2C: price for business to customer.
- HSN/SAC Code: which is a 6-digit uniform code developed by World Customs Organization (WCO) for goods and is universally accepted
- Safety Stock Level: How much stock is available.
- If the item is already there it will auto fill the Category, HSN, UQC, Rate of item.
- Quantity: Amount of quantity purchased. After entering quantity it will automatically fill the Taxable Value.
- If the supply is inter state, enter CGST,SGST
- CESS: To compensate the States for the loss in tax revenue, some states that are net exporter of goods and/or services are expected to experience a decrease in indirect tax revenue.
- Empty fields automatically fill. click on add item. You can see the details of added items. Can add any number of item in the same process.
Check on Bank Details, enter valid bank details in fields.
- click on Add invoice.
Step7 :
You can see the page with tabs contain the summary of invoice. you also can import your invoices by clicking import button in the same tab.
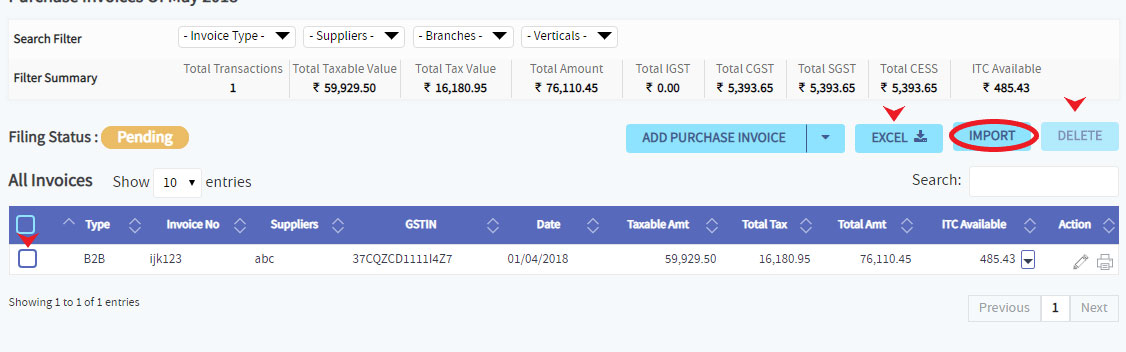
Step8 :
On clicking import button you will get a page as shown in below, In that choose the type of invoice and choose the file or drag and drop the file. Then click on Import Invoice, you will get if the upload is failed or successful.

Step9 :
In sales invoice tab click on upload to GSTIN.
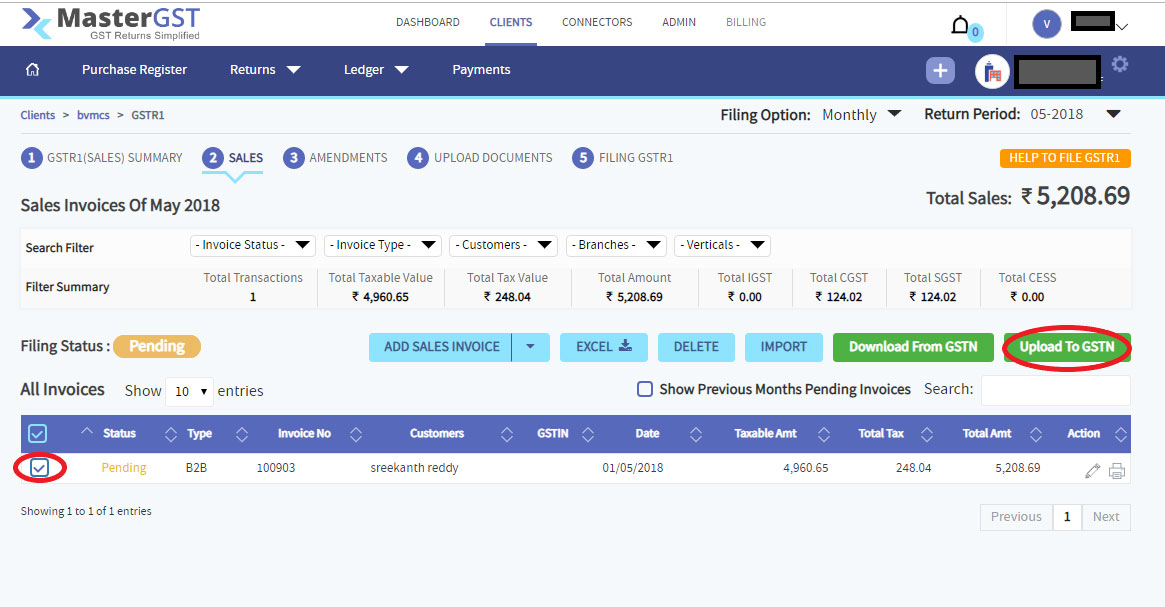
Step11 :
In Upload Documents to GSTIN tab it will show all the information about invoices if you want to edit you can and save, then click on ‘upload all to GSTIN’. Click on “Submit GSTR1“. Please Note, Once you Submit the Invoices, you can’t make any changes to the invoices

Step12 :
Click on File GSTR1 with Digital Signature (DSC), Please login to your Digital Signature to file.
Step13 :
To file with EVC click on file GSTR1 with EVC button and you will get a pop up and enter the OTP you will to your registered mobile number and click on submit . The filing of GSTR1 completed .

Add Export
Export Type: There are two types of Exports are there as shown in below.
-
- Export with IGST: Pay *IGST after setting-off ITC and claim the refund of tax paid.
- Export under bond/ Letter of Undertaking(LUT) : without payment of tax and claim refund of Input Tax Credit or
- Port Code: Port codes For all ports in India.
- Shipping Bill Number: Bill number of the export.
- Shipping Bill Date: Date on which the bill was issued.
- Invoice Number: Number of invoice.
- Invoice Date: Date of invoice.
- Filing procedure for export is same as add sales invoice (Refer ‘Add sales invoice’) .